Sunday, December 28, 2014

New Table Area

Just before Christmas I got a table from my Grandmothers house. We are still in the process of sorting out her belongings after her death in December. I got a bunch of cool old quilts that I have been cleaning and will post here eventually. The table held Katie's pink Christmas tree until a few days ago but then I needed to decide what to do with it. Here is what it looks like tonight!


Katie and I created this Pinterest art piece and finished it in early December. Simply search for toilet paper roll craft and you will be amazed at what people can create. Basically you collect then cut up toilet paper and paper towel rolls, hot glue them together and spray paint it. I dont know how long it will last but looks good on the wall.


Tonight I decided to make a table runner. I used fabric squares I had from an early quilt I made in 2008. It was super easy and I made it in about 30 minutes. 


The back is a red fabric, no batting was used and it was very basic construction. It fits perfect and will protect the table.


The table was in questionable condition when I brought it home. I thought I would need to refinish it but after a few coats of Old English it took on a whole new look and was in great shape. There is some staining and it will eventually will need to be refinished but work for now.


Here is another look at the table...


And another...


I am very pleased with how this area came together.

Tuesday, November 11, 2014

Fireplace Blanket

Last winter I identified three projects that I wanted to do to help with the temperature of my home. I accomplished two of these, replacing my dog door with a higher efficiency door and successfully weather stripling my back door. Both of these changes made a huge difference in the temperature of my dinning room and kitchen. The last project was to make a fire place blanket. I did quite a bit of searching on the internet for how people make these wholes in their houses efficient. In colder climates where the fire place is used for heat they have developed several options ranging from balloons inserted against the flue to covers for the outside to blankets. Considering most of these options I found begin in the $100 range I figured a blanket was something I could do!

Here is my fireplace a few weeks ago. Eventually I would like to replace the tile, fix the doors and change out the mantle but those are all larger projects for later.


Last year when I decided to do this project I was able to find a few people who had done something similar. A key piece seemed to be the insulation. There are several products out there but this one is a batting with a foil layer inside. The key is to build up the rh factor which is the level of cold it will keep out. This is based of what I ready about making window coverings which serve a similar function.


I also bought some black upholstery fabric but for some reason never got sewing, probably because of our lack of a real winter last year. A few weeks ago I decided I needed to finish before it started getting really cold. I quickly discovered I did not have enough fabric do ended up getting black duck cloth. 

I measured the fireplace then added an inch to each length. I cut the two fabrics into this size. I decided the duck cloth would go against the fireplace since it was heavy duty. I then cut small rectangles to hold the magnets in place. This was a great opportunity to use up old thread since it would never be seen!


I then build the layers like I first started making quilts. Facing the two outside layer together then stacking the reflective batting then a layer of quilt batting. I sewed around the edge with a half inch seam leaving an opening to flip it right side out. Once it was flipped I sewed again around the perimeter to finish it and close the seam. 

I bought some super strong rare earth magnets to attach the blanket, these are definitely interesting to work with and I advise caution. I left an opening on the rectangles to insert the magnets later, due to their strength I could not sew near them. They are also difficult to separate and break fairly easy. Once they break or chip they start just slicing your hands up so wear gloves!

The final step was inserting the magnets. I had planned to try to hand sew them in place but don't think that will be needed. Here is the blanket in place.


I just put it up today and was quite pleased with how it came out and the coverage. I know it is working because we decided to have our first fire of the season tonight and when I pulled it away from the fireplace the back of the blanket was really cold but the room was quite comfortable.


Monday, September 22, 2014

Mothers Day Bouquet Quilt

I cant believe I forgot to post this quilt! I finished this one early this summer and entered it in the AV Fair last August. The pattern was found in Sweet Celebrations with Moda and is the Mothers Day Bouquet Quilt. I used one of Moda's fabric lines but have to check on which one it was. The quilt looks like flowers.


The back is a blue floral and the binding is stripes.


Speaking of the Fair, here it is on display at the Fair.


Scrap Happy Purse

One of the blogs I follow is Crazy Mom Quilts and recently saw her post about making a Scrap Happy Purse. I loved the look of this bag and really wanted to try making it. Given my past lack of success in making any kind of bag I was hesitant but finally decided to go for it. I went though the basket of scraps that I keep for Katie to play with and found more than enough scraps at the right size. It is pretty awesome because I remember all of the quilts and projects that I used these fabrics for, this makes the bag that much more special. I began the bag and thought that I would finish it quickly, however my Grandmother encountered some health issues and passed away quickly which led to family coming to town. Things are beginning to return to normal and one of the first projects I wanted to get back to was this. Tonight I finished sewing on the last handle. Here is the finished purse.


Here is a close up, I quilted lines on every 1/4 inch which took some time but really looks good.


Inside there are two pockets and a snap.


This bag was a lot of fun to make and I am really happy with how it came out!

Monday, August 18, 2014

Easy As Pie

Earlier this year, around April my office mate (we share an office at the library, she is also our teen librarian) came to work then had horrible stomach pain which took her to urgent care then the ER. Long story short she had several cancerous ovarian tumors which were removed in subsequent surgeries. She is now in chemo and doing good so we are all awaiting her return to work this December! What can I do when something happens to someone and I feel helpless...well a quilt is one thing. Here is her Easy As Pie Layer Cake Quilt. I used a layer cake of Strawberry Fields fabric. 


The boarder is a pink floral fabric and the back is a yellow strawberry print.


Very happy with how this quilt came out and cant wait to send it to her!

Sunday, August 10, 2014

Peaches for the summer

The peach crop this year has been short so getting good peaches has been a challenge. I was able to get one box from the CSA and put them to good use.

First we made Peach Raspberry Jam from Taste of Home Canning and Preserving 


Next was Blueberry Peach Chutney from The Complete Book of Pickling


Third was Peach BBQ Sauce from The Art of Preserving


Finally was Peach Butter from the Ball Complete Book of Home Preserving


Altogether a great way to to save the peaches from this summer. We are using the BBQ sauce on some chickens for dinner tonight!

Wednesday, August 06, 2014

Corn and Relish

In my box of weekly vegetables I recently added on a dozen, then a few weeks later got another ten ears from the extra they had available. The result was canning corn.


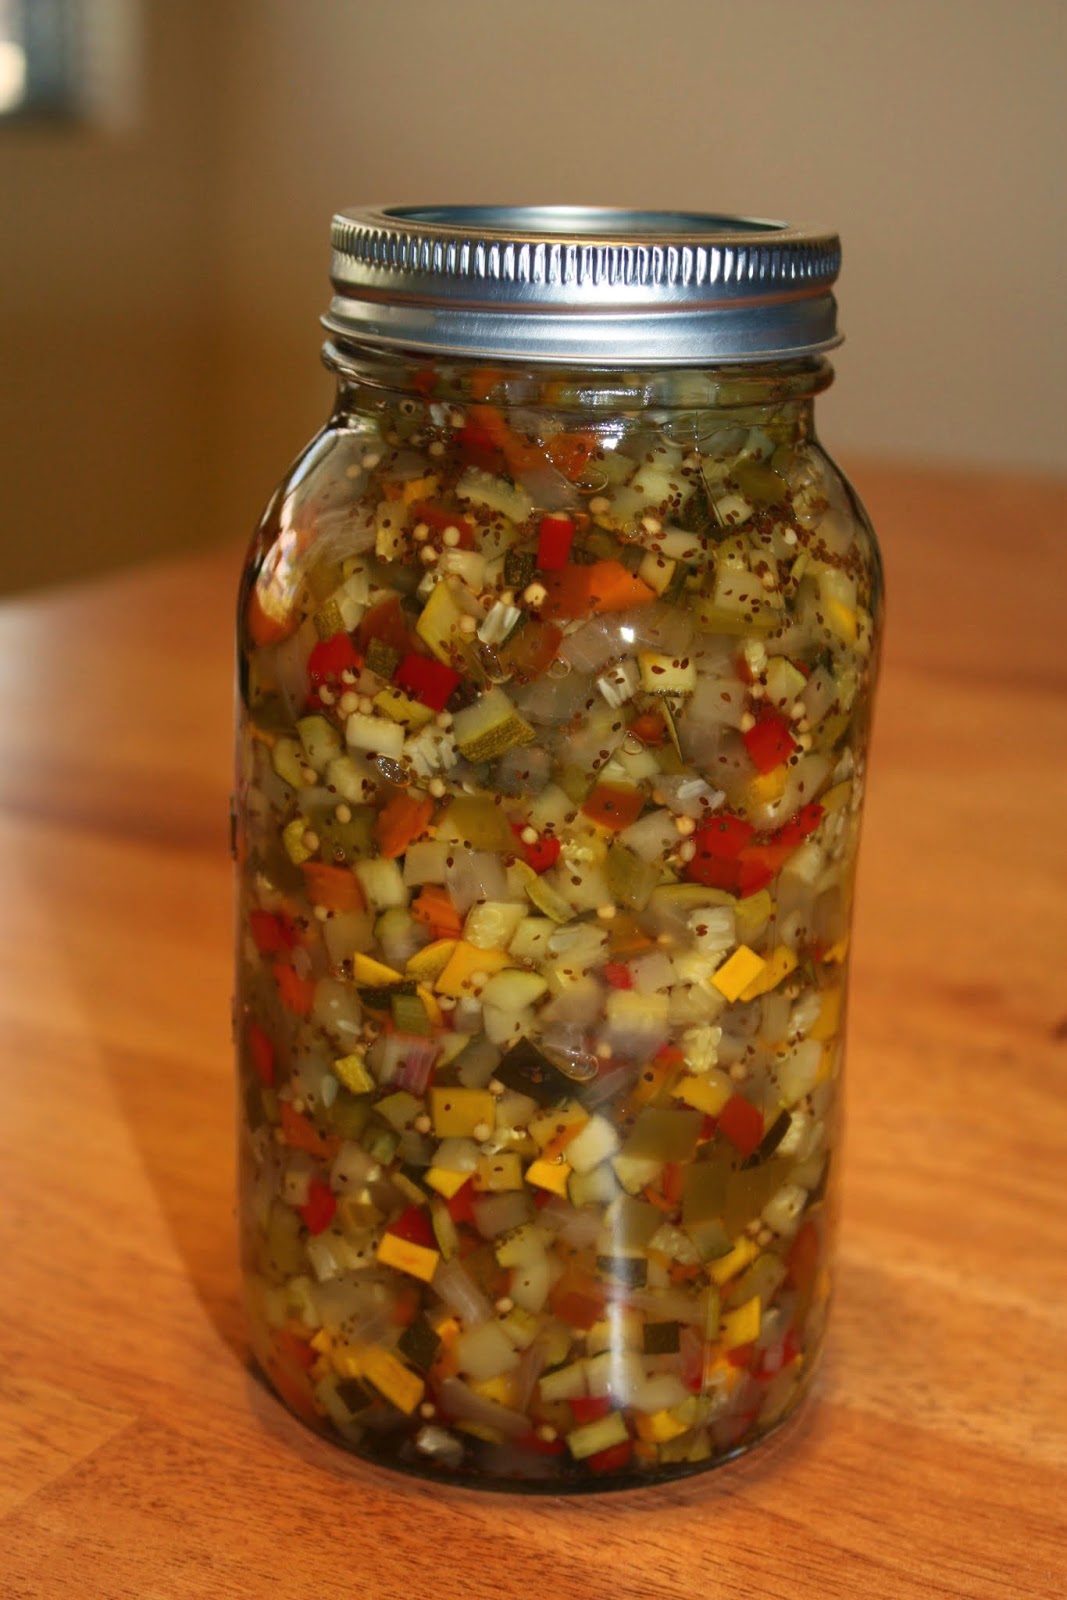
My father was able to get a few zucchini from his plants so we made our favorite zucchini relish! So glad we got to make some this year as it is so delicious. 


Tuesday, August 05, 2014

Small Garden

Usually by this time of year the garden is in full swing and we are getting ready for the fair. There are piles of tomatoes and zucchini and we are canning like crazy and giving the stuff away. This is not the case this year. This past weekend we finally had a break in the hot weather, Sunday was overcast and cool so it was time to work in the garden. The main goal was to move the irrigation hoses around to only water where there were still plants. We also cleared out the weed and dead plants, this resulted in showing how truly small the garden is this year.

So what do we have left...well there is the kale


...and a tomato plant.


Here is Katie with the kale.


Katie with the peppers, there are three plants.


There is a random volunteer tomatillo that hasn't produced yet but looks healthy.


The corn is doing good and getting quite tall. This is all popcorn so we are in the drying out phase.


The pomegranate tree is doing good but no blooms yet. The near by peach tree did have three peaches but the birds ate them before we could get them. 


And here is the wide view of the garden. There are two watermelon plants and a cantaloupe but so far the melons are really small and I don't hold out much hope for them producing.


I had thought last year the garden was low producing but this year makes last year look like a great year. I have not found anyone who has had a good year. There are a variety of possible factors including the severe drought, usually hot weather, etc... Given the current state of water in California if there isn't rain this winter we may not be doing a garden next year just to conserve water. 

Sunday, July 06, 2014

Peaceful Mind Globe

I recently found a great book called Just Us Girls: 48 Creative Art Projects for Mothers and Daughters to Do Together. This book has a lot of fun and creative crafts that use nature and things you can find around the house and yard. The first project we set out to make was Peaceful Mind Globes.

These use jars, water, food coloring, glycerin, glitter and glue. Fill the jars with distilled water, then add food coloring.


Next add glycerin and glitter.


Mix it up a little to see if you have enough of each item.


Finally glue the lid on and shake!


The final result is a colorful glittery jar, sort of like a snow globe but is supposed to bring peace and calmness as you look at it and watch the glitter swirl around.

Saturday, July 05, 2014

Garlic

We planted garlic in the garden over a year ago, recently my brother decided it was time to harvest it. We used the seedling shelves to lay the garlic plants out to dry.


The garlic has blossoms on it that need to be separated.


Kevin and Katie have been working on this.


The small seed, bulb part will be able to be planted for future garlic plants.