The weekend following my New Year's painting extravaganza it was time to start with the living room. The big wall with tile flooring had already been painted the weekend before so now it was time for the rest of the room. The ultimate goal is to remove and replace the carpet so painting and flooring had to be coordinated.
We began Friday night by beginning to remove the molding, the goal is to reuse it if possible.

Here is a look at the before.

Once the molding came off it was time to start pulling up the carpet.

Under the carpet is a layer of foam and the tack strips.

Here is some progress.
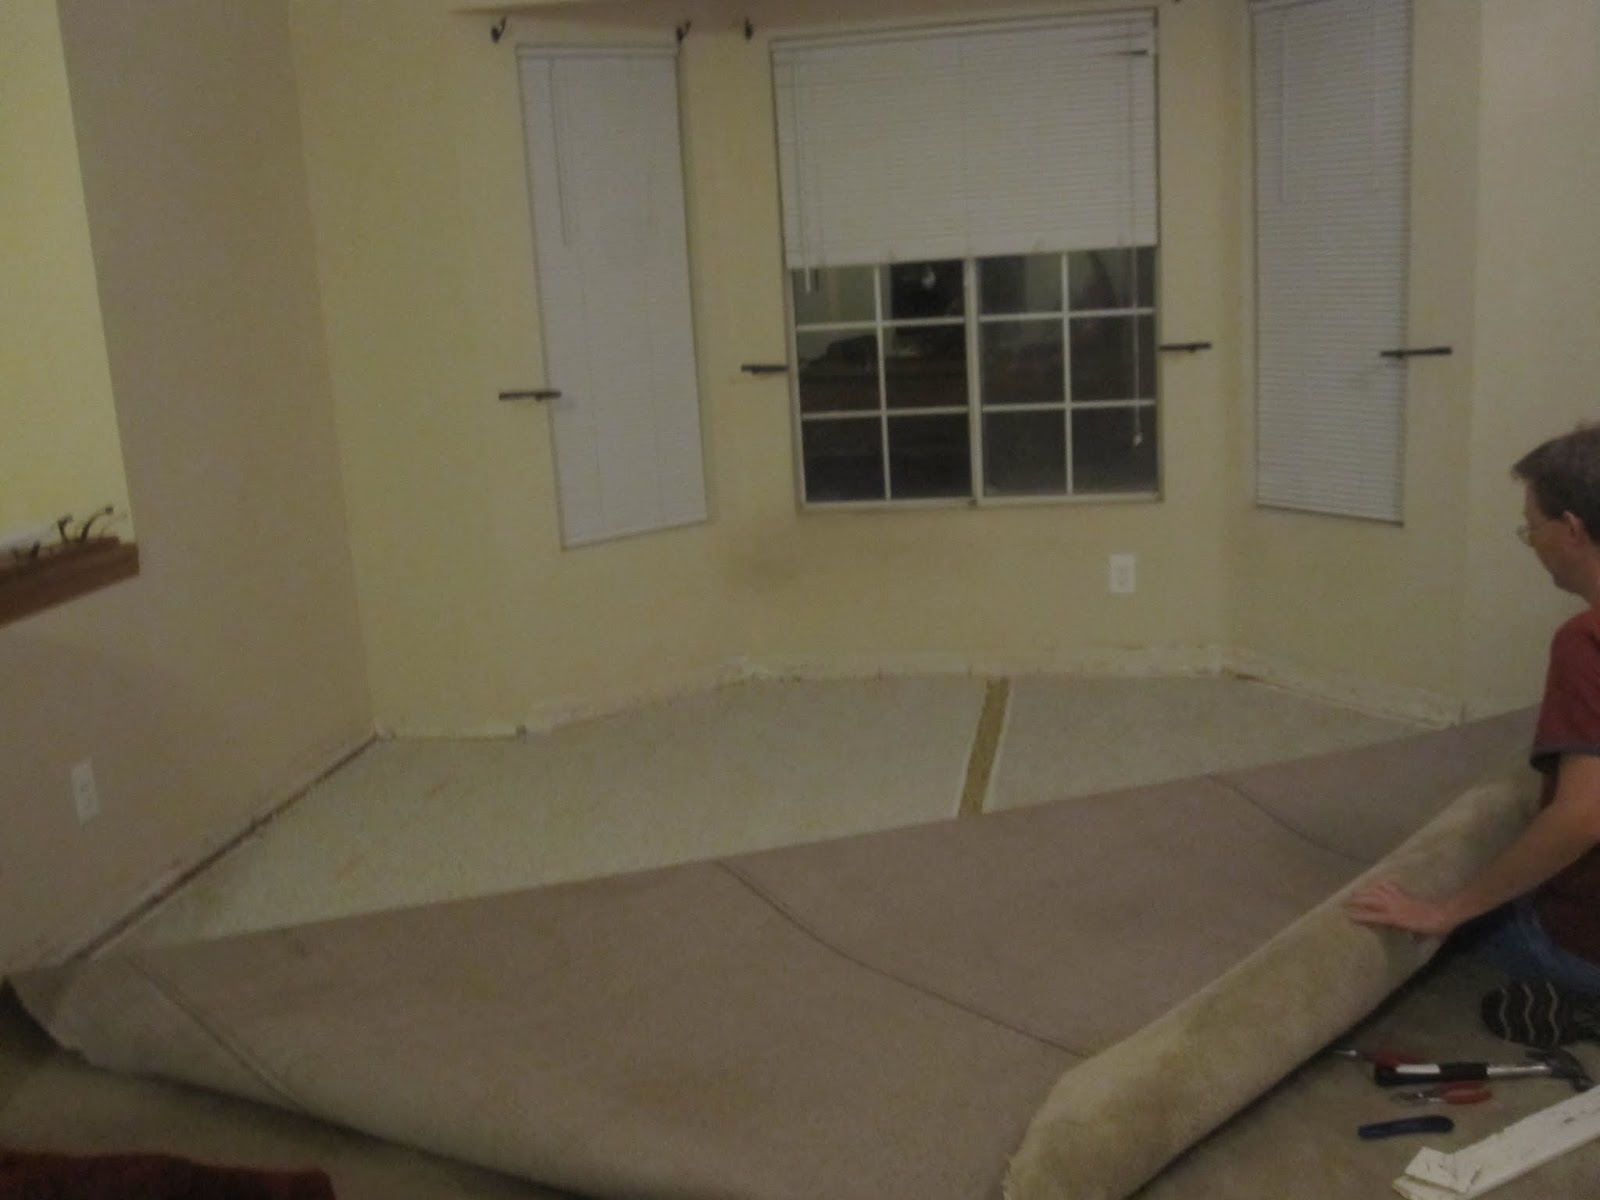
Once the carpet, foam and tack strips were up the Dremel came out to cut off the nail heads.

The next morning we continued where we left off.

Where the foam came up the glue and foam pieces had to be scrapped off the floor.

And the shop vac came in handy for cleaning up all of the scraps and other assorted debris.

By Saturday evening we had worked our way almost to the other side of the room.

Eventually the carpet and foam were gone.

Sunday was time to paint. The 5 gallon bucket was still going but I added another gallon to be safe. This is after cutting the room in, it is ready to roll.


The finished room looked great. I used the semigloss paint that was left from the hallway in the bay window area. It is a high traffic area for Olive who keeps an eye on everything that happens outside.

The other side of the room painted.

Next up, lets add some flooring!
No comments:
Post a Comment