Showing posts with label house. Show all posts

Tuesday, November 11, 2014

Fireplace Blanket

Last winter I identified three projects that I wanted to do to help with the temperature of my home. I accomplished two of these, replacing my dog door with a higher efficiency door and successfully weather stripling my back door. Both of these changes made a huge difference in the temperature of my dinning room and kitchen. The last project was to make a fire place blanket. I did quite a bit of searching on the internet for how people make these wholes in their houses efficient. In colder climates where the fire place is used for heat they have developed several options ranging from balloons inserted against the flue to covers for the outside to blankets. Considering most of these options I found begin in the $100 range I figured a blanket was something I could do!

Here is my fireplace a few weeks ago. Eventually I would like to replace the tile, fix the doors and change out the mantle but those are all larger projects for later.


Last year when I decided to do this project I was able to find a few people who had done something similar. A key piece seemed to be the insulation. There are several products out there but this one is a batting with a foil layer inside. The key is to build up the rh factor which is the level of cold it will keep out. This is based of what I ready about making window coverings which serve a similar function.


I also bought some black upholstery fabric but for some reason never got sewing, probably because of our lack of a real winter last year. A few weeks ago I decided I needed to finish before it started getting really cold. I quickly discovered I did not have enough fabric do ended up getting black duck cloth. 

I measured the fireplace then added an inch to each length. I cut the two fabrics into this size. I decided the duck cloth would go against the fireplace since it was heavy duty. I then cut small rectangles to hold the magnets in place. This was a great opportunity to use up old thread since it would never be seen!


I then build the layers like I first started making quilts. Facing the two outside layer together then stacking the reflective batting then a layer of quilt batting. I sewed around the edge with a half inch seam leaving an opening to flip it right side out. Once it was flipped I sewed again around the perimeter to finish it and close the seam. 

I bought some super strong rare earth magnets to attach the blanket, these are definitely interesting to work with and I advise caution. I left an opening on the rectangles to insert the magnets later, due to their strength I could not sew near them. They are also difficult to separate and break fairly easy. Once they break or chip they start just slicing your hands up so wear gloves!

The final step was inserting the magnets. I had planned to try to hand sew them in place but don't think that will be needed. Here is the blanket in place.


I just put it up today and was quite pleased with how it came out and the coverage. I know it is working because we decided to have our first fire of the season tonight and when I pulled it away from the fireplace the back of the blanket was really cold but the room was quite comfortable.


Sunday, May 11, 2014

Strawberries

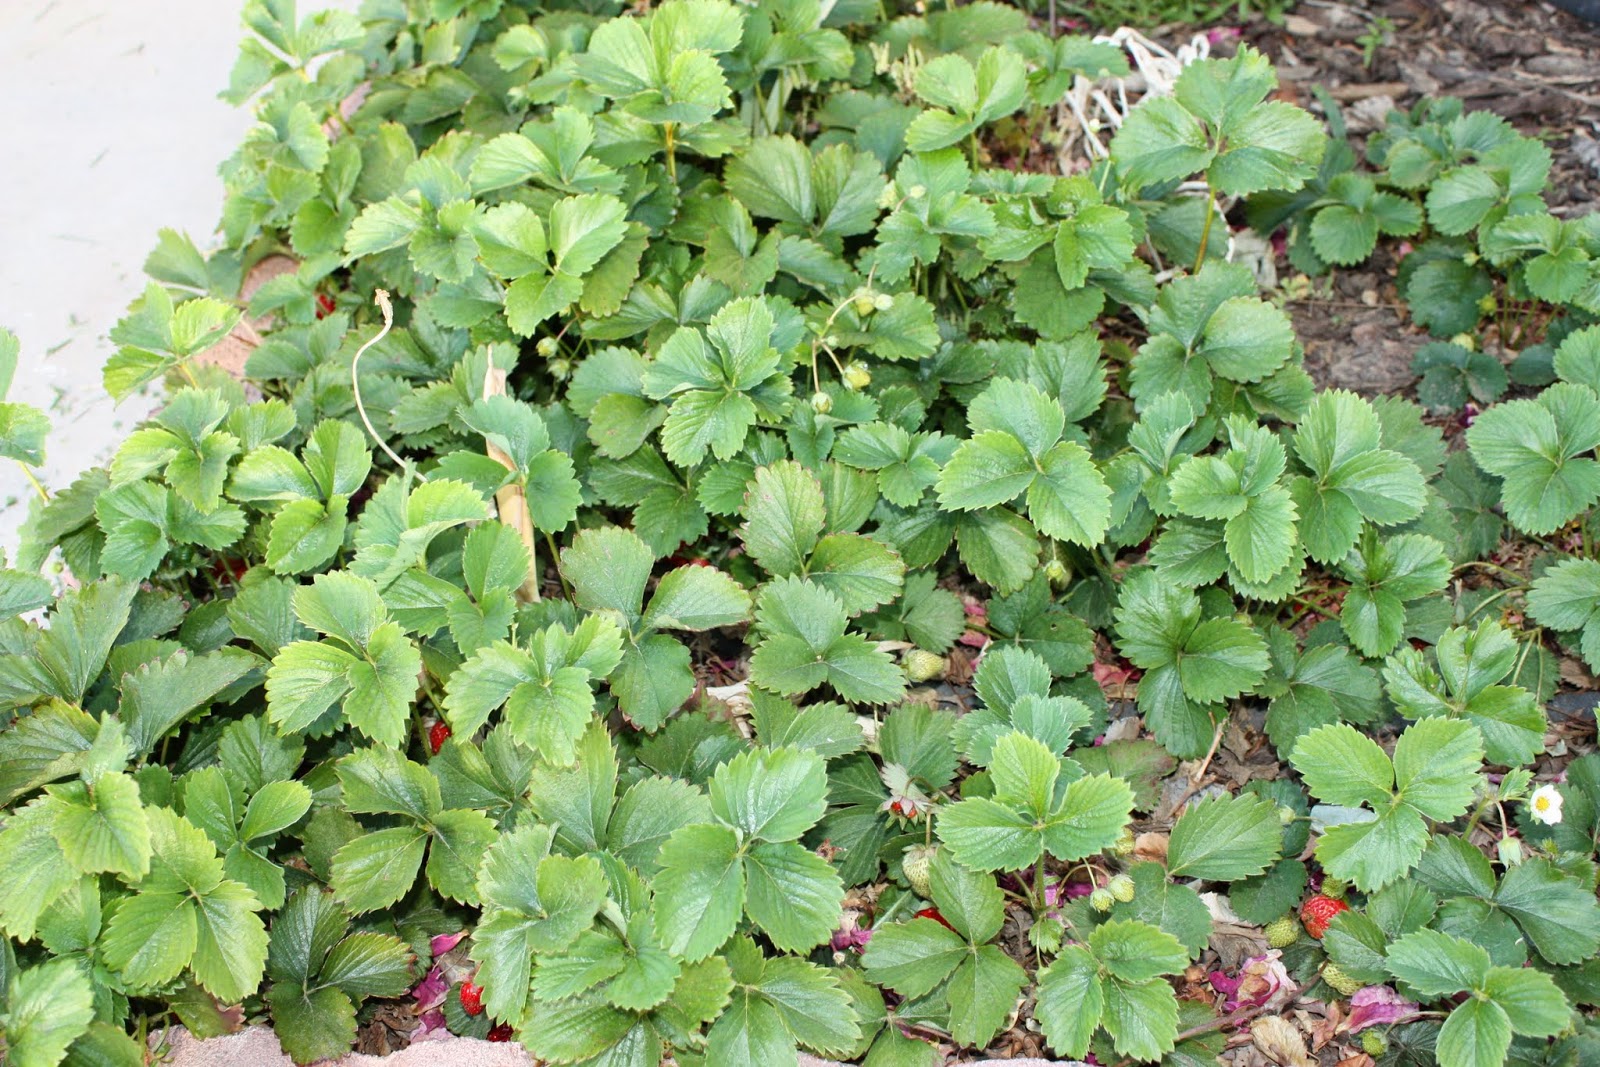
My strawberry plants have really taken off this year, a bowl full were collected today and quickly eaten!


Sunday, March 16, 2014

Side Yard

This year I want to expand the garden to my side yard, we have been working on cleaning up the branches that were put there when removed a few years ago. The branches are almost gone! With the recent rain storm the weeds grew like crazy, some were over a few feet tall. This weekend was time to mow and weed whack to clean it up. Here is a look a little over half down. 


I moved the remaining branches and wood near the house to get everything down. I had a helper from the window.


A look at the finished mowing. There are still tree stumps here from the cottonwood trees that took forever to get rid of.


My brother happened to show up so he started tilling it.


Here is the finished tilled area, cant wait to get some plants in here!


Speaking of plants here is a look at how they are doing.

Friday, February 21, 2014

It's that time of year again

It is seed planting time again, over the last week Katie and Kevin have been starting to plant the first round of seeds and they have started sprouting.


Also with out freakish warm weather everything is blooming. The lack of water or rain is a serious issue. We are experiencing the driest year on record and there is no snow pack to rely on either. I have a lot of concerns for my garden this year. However my peach tree is blooming and the blooms are beautiful.


A vibrant color.


My grape plants are also sprouting tiny fuzzy buds.


The bulbs in my front planters are about to bloom as well.


These are a little camouflage but are definitely there.


Overall things are growing and blooming and its good to be getting back into it.

Saturday, January 25, 2014

Pruning

It is that time of year again although the weather is definitely not cooperating. California is facing a third year of drought and by far the worst year on record for rain. Along with the lack of rain is a lack of winter. We had about one week of actual cold weather, other than that it has been quite warm. This means that the plants have not gone dormant like they should. Usually you want to prune just after the coldest part of winter and before spring kicks in. This is the time of year it would usually be done so I went ahead and pruned. I did not take before pictures this year but caught the after.

I went drastic on the pomegranate, cutting it more than I have in the past, especially with the height.


The grapes were trimmed back to leave a main stalk and a few off shoots to train along the wires, they are almost done in this picture. 


Finally there are the roses, I went easy on them this year, mostly just trimmed and cleaned them up.


Sunday, December 15, 2013

Weather Stripping

In the continuing mission to save energy and make my house more efficient I have been focusing on a few part of the house which are some of the worst offenders. One of these is my back door. I have tried to put traditional weather stripping on the door last year and that did not work, the door would not close. I asked my brother for help in finding a real solution to the door issue. We recently made a trip to Lowes to look at some items we found online. While there we happened to find this product which looked like it might solve the problem and still keep the door functional. 


Here is a look at the door and frame before we started, there is a gap there that you can actually see light through. This was the problem, if you sat neat the door you would feel the cold draft because so much air is coming through.


Here is a look at after, there is no longer a gap!


To achieve this result we first cleaned out the door frame of the pieces of existing insulation.


This silicone stripping is very flexible and thin. It has an adhesive side to it just presses into the door frame. Just doing this one side of the frame was enough to solve the problem but it can be installed on all sides.


The change from finally solving this leaking door has been drastic. You can now sit at the table near the door and not have to wear a sweater, you can walk by without feeling the rush of cool air. I am sure this will help in the summer as well. Just one small step towards making my home more efficient and comfortable.

Monday, November 11, 2013

Fall into Winter Yard

My garden was cleared out early this year and I am still getting peppers and tomatoes, the artichokes, garlic and beans are still going strong.


The beans are going crazy, we put many plants in so there is a lot of variety and figuring out what the beans are is an adventure.


These long ones are dried out and were ready to pick.


We didnt get many beans... but we did get some. I will probably mix them in with other dried beans to cook and eat them.


My peach tree was thought lost at one point but is still hanging in there. The rhubarb that I had planted next to it did well while the corn was there around it but died as soon as the corn came out, perhaps too much sun. 


The pomegranete tree is still doing well. I will be pruning it even more this winter as it just keeps getting taller. We got a good crop this year which we finished off a few weeks ago but you can still see some empty red husks there at the top of the tree, way out of reach.


Here you can see what is left of the lawn that I planted. Most of it did well but there are bald spots. I reseeded and fertilized last week, if it sprouts before it freezes there should be an improvement in the Spring. The grapes are losing their leaves and we will be doing some structural work on the trellis when they get pruned.


In the mostly cleared out garden we have finally planted a winter crop. This is a mix of seeds for plants that are beneficial to the soil. The idea being that you grow it over the winter and in the spring you till it into the soil and do not have to add fertilizer or mulch. I have very healthy soil due to the addition of large quantities of mulch over the years, we hope this will keep the quality ip with a lot less shoveling. 


The next project in the yard will be to finish clearing out the garden once it freezes, surprisingly this has not happened yet. Until it does we will keep picking tomatoes and peppers from the garden. 

Saturday, June 15, 2013

How is the garden growing?

I have had several people ask how the garden is doing this year. I keep taking pictures intending to post but then more changes and the pictures feel out of date. I took these pictures last Monday and it has grown since then.

This is what we got out of the garden on Monday. The beets were ready so that is about 30 of them, quite yummy. Of course lots of squash, it is growing well and I have it everywhere in my house. We pick it almost daily.


This is the largest tomato plant. We planted a lot less tomatoes this year but they are growing well and have small green tomatoes we are waiting on to get ripe.


Something new this year was planting garlic, that is what these thin plants are.


There are peas growing up the netting along the fence.


The kale has done well and is huge.


Here we have cucumber and some other plants. We have them climbing the cages to help save on ground space.


The pepper plants have been attacked by bugs this year, only a few have survived and they are quite small but there are peppers growing on them.


Here are the squash, a wide variety are growing and they are all doing well. No pumpkins yet but the hubbard are going a little crazy.


We have already harvested and eaten the artichokes.


Here is another looks at the peas and garlic.


Not pictured is the corn with has grown about 5 inches in the last week. They are planted around the peach tree and rhubarb on the other side of the yard.

Monday, February 25, 2013

Lights

In addition to the painting and flooring changes in my living room I also wanted to change out the light fixtures. The hanging one by the door was clearly from when the house was built and looked it. The second light was very small and matches the lights in the hallway but it really did not look right in the room. Here is a look at the existing lights.


And a closer look at the small one.


I replaced them with matching semi-mount fixtures. Each one has two bulb which proves much better lighting in this area.


The next fixture to replace was the ceiling fan in the dining room. This was a new one put in just before I bought the house but was a shiny gold fixture that was probably the cheapest one they could find. Here is a look at the existing fan.


A while ago I added a ceiling fan in my living room, removing the old light fixture. I went with the same fan in this area. You would have thought it would be a simple task to just replace the fan however  when the old one came down we discovered that the proper bracket was not installed above the fan. What should have taken about an hour took most of a day including climbing in the attic to install the bracket.

Here is the fan coming down, it went to my parents house to replace their old fan which is beginning to  die.


The hole in the ceiling, we saw this for a very long time.


And here is the new fan installed. It is much more pleasant to look a at and is not nearly as gold and shiny.