In the days before Christmas I started painting a set of Bisque Christmas Ornaments I had ordered from Mary Maxim along with our other craft kits. These ornaments use a metallic paint which give them a very nice finish. Several coats of paint are required to get the effect to look right. It was a nice relaxing project that we were able to add to the tree when they dried.
Showing posts with label paint. Show all posts
Saturday, January 04, 2014
Monday, January 28, 2013
Floor Wrap Up
The next and final step in my flooring adventure was the moulding. We had pulled the exiting moulding off the walls and it survived but needed some assistance. Luckily the weather warmed up slightly for a few days and we were able to work outside. The first thing to do was sand them, There were pieces of carpet and paint lines all over them.
The previous paint was not put on them very well.
Once sanded came the paint, the same paint as the rest of the floor moulding in the house.
Because of the spacer used around the edge of the floor the old moulding barely covered the gap so a second piece needed to be added. I chose this shape which also needed to be painted:
Next we laid out the pieces where they belonged and began trying to hammer them in, turns out this didnt work very well.
So we rented a nail gun to get the job done.
Even with the nail gun it took longer than we had expected, my bay window was a pain to try and refit the poorly cut pieces back in to.
My brother worked on this while Katie and watched the Inauguration so I can not take too much credit.
The refreshed moulding went in all the way around and was looking pretty good.
Next came the new smaller piece which was flexible and very forgiving.
The final step was filling the nail holes and touching it up. I am very happy with the result.
Friday, January 11, 2013
Painting and Carpet Removal
The weekend following my New Year's painting extravaganza it was time to start with the living room. The big wall with tile flooring had already been painted the weekend before so now it was time for the rest of the room. The ultimate goal is to remove and replace the carpet so painting and flooring had to be coordinated.
We began Friday night by beginning to remove the molding, the goal is to reuse it if possible.
Here is a look at the before.
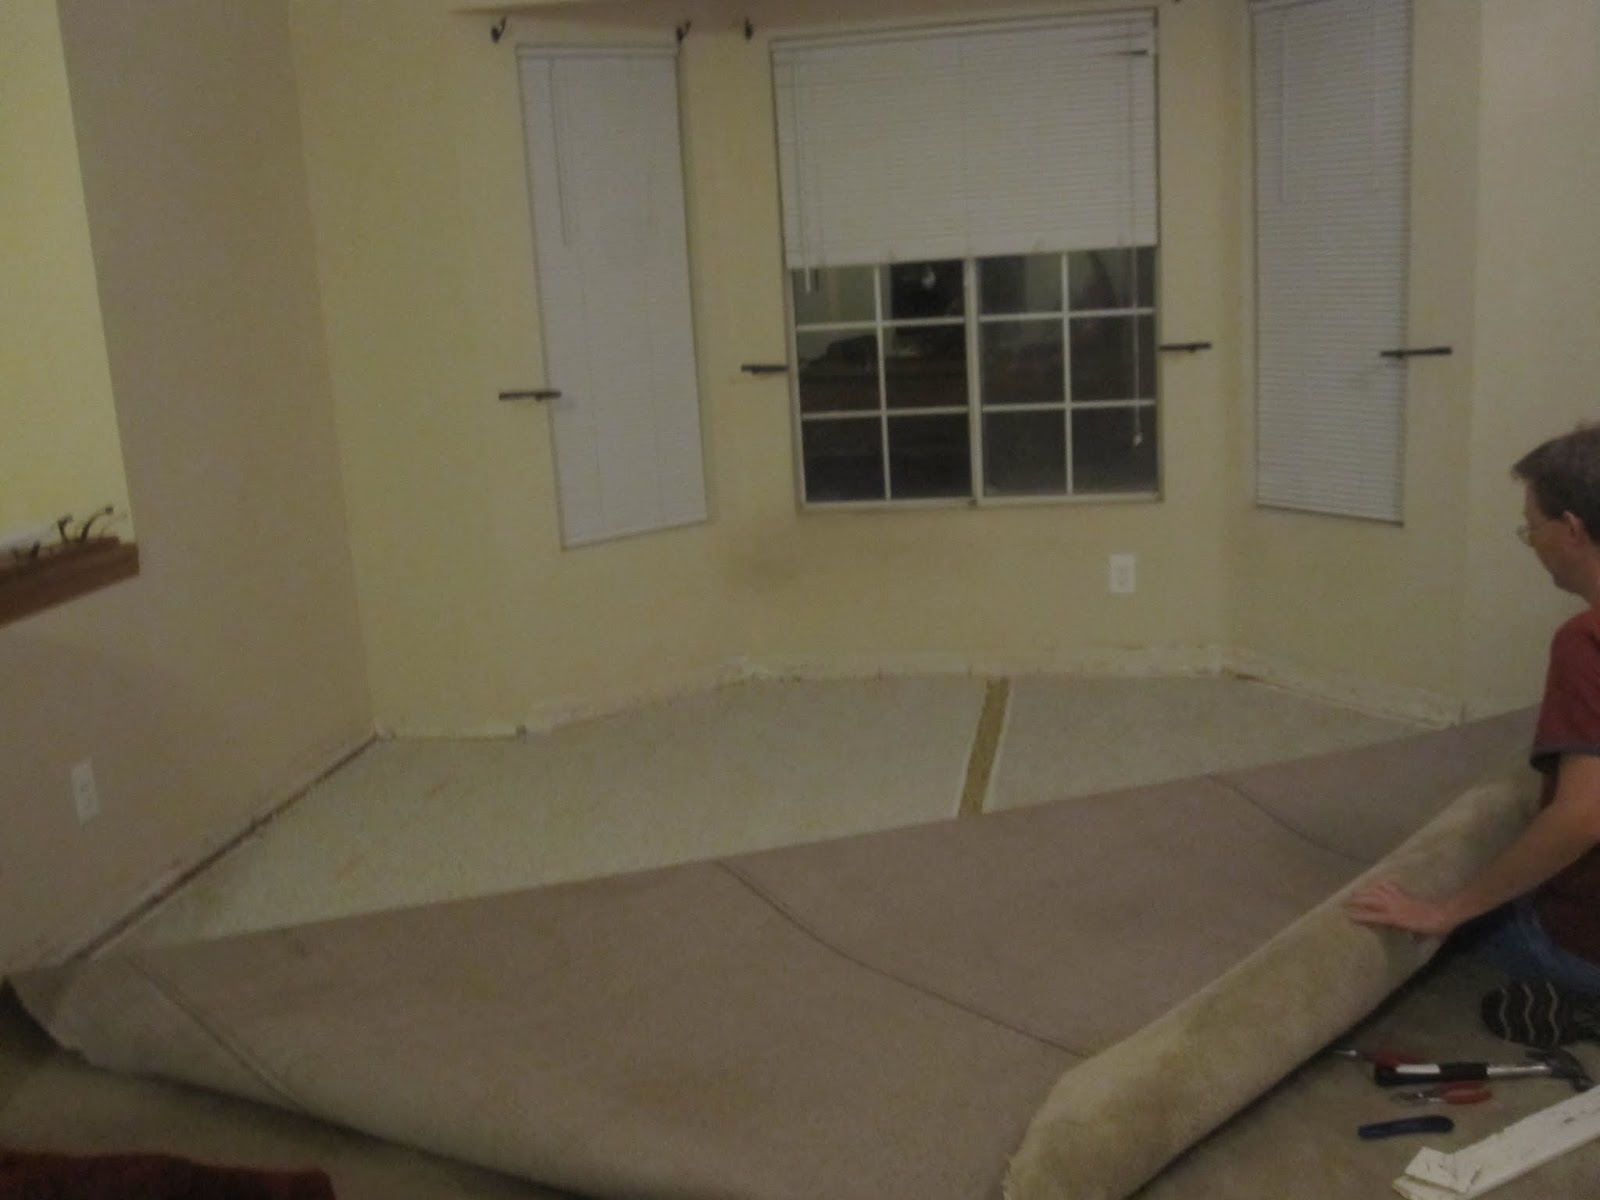
Once the molding came off it was time to start pulling up the carpet.
Under the carpet is a layer of foam and the tack strips.
Here is some progress.
Once the carpet, foam and tack strips were up the Dremel came out to cut off the nail heads.
The next morning we continued where we left off.
Where the foam came up the glue and foam pieces had to be scrapped off the floor.
And the shop vac came in handy for cleaning up all of the scraps and other assorted debris.
By Saturday evening we had worked our way almost to the other side of the room.
Eventually the carpet and foam were gone.
Sunday was time to paint. The 5 gallon bucket was still going but I added another gallon to be safe. This is after cutting the room in, it is ready to roll.
The finished room looked great. I used the semigloss paint that was left from the hallway in the bay window area. It is a high traffic area for Olive who keeps an eye on everything that happens outside.
The other side of the room painted.
Next up, lets add some flooring!
Thursday, January 10, 2013
New Year's Weekend
As New Year's weekend approached the thought occurred to me that I had several days off and should do some more painting! I had the big wall in my living room, the dining room and library/fire place room to paint before starting my next project. The walls were to be painted the same color as the hallway Behr Premium Ultra paint in eggshell rather than semi-gloss. We started Saturday morning with the big living room wall. First task was to remove the wall plates.
We also removed the air vents and coat rack. Here is a look at the painted hall and the unpainted wall.
Another look at the before.
This is a close up of the meeting of the two walls. Before painting all of the cracks and dings were filled with spackle and other marks such as previous paint drips were sanded.
A last look at the unpainted wall
We were able to finish the wall in a day, including the floor molding. I had hoped that the paint would cover in one coat but it took two. Sunday we began the dining room and I bought a 5 gallon bucket of paint. I did not get any before pictures but here is a look at the after, it is a much brighter room now. Also now that there is real paint on the wall it should be much easier to keep clean since I can actually clean the walls without wiping off paint.
Monday was the day to start the last room. I knew this room would take a lot of work since it had the most furniture and three windows to work around. Here is a look at the before
Once the room was cleared we started painting, sometimes we dress up to paint
Here is the wall in progress, you can see the color difference. The new color looks almost the same in daylight but the base color is much lighter which is why it took two coats on all the walls. Also the eggshell vs flat paint allows the walls to be slightly reflective of the light which also helps to brighten up the space.
Here is the finished room the next morning. We did not finish this room and get it put back together in one day.
Another after view
And one more
I have been putting off this painting project for awhile just because of the pure amount of work I knew it would be, however the results are completely work it. Everything looks much brighter and cleaner. At night the house is not nearly as dark in the unlit areas. There is just one room left to paint.
Tuesday, September 06, 2011
Labor Day Weekend Project
Over Labor Day weekend I decided it was time to get started painting the interior of the house. The paint that came in the house is very flat and poor quality. If Katie touches a wall with a dirty hand or anything gets on the wall it is quickly absorbed by the paint and will not come off. Any scrubbing of the walls, even gently removes the paint. Recently Katie decided to write on her bedroom wall with a washable maker, this should not have been a problem but my cleaning it off removed the paint. Another factor was that the color on the walls looked very dark in Katie's room and it really needed to be brightened up. It became clear that it was time to repaint and her room was a good place to start.
I went with Yolo Colorhouse paint again to try and make it as environmentally friendly as possible. I collected some paint chips and let Katie pick the color. She had originally debated between pink and white but when she saw the paint chips she wanted white, the color is Air 01.
Here you can see a light spot on the wall, that is the new paint color on top of the old.
Katie was of course my willing assistant and really wanted to help.
When we finally got started putting primer on the wall she was having a lot of fun, almost too much fun. After a little while I decided to just put on Sesame Street to keep Katie busy while I worked or we might not get done or there might be paint everywhere.
Here the walls have been primed and the color is starting to go on, it looks yellow against the white but is nice warm light cream when dry.
This is the finished product, the sun was already down so there are some weird shadows but you get the idea.
Her furniture, mostly pink, looks good against the color. I also cut off the coax cables that were sprouting in her walls (when they come drill a hole in the wall and push the cable through) and patched them over. Her room is no longer cable/satellite ready but I do not have to push furniture up against the cables to keep them away from her.
Katie loves it, she kept coming in once the paint was up and telling me it was "so pretty" and that she liked it. Her room is now bright and cheery through the day rather than dark, even at night her little lamp is now enough light for the room.
Subscribe to:
Posts (Atom)