Showing posts with label craft. Show all posts

Sunday, December 15, 2013

Snowmen Ornaments

This weekend it was craft time with Katie again. She chose to make these bead snowman ornaments.


The kits came with the standard beads and pipe cleaners. Katie put the beads on on and I used hot glue after each bead. The last step was to tie the ribbon scarf around the neck.


 These guys are already hanging on the tree and look adorable.


Sunday, November 10, 2013

Pumpkin Luminaries

We have a slight abundance of large Mason jars which I rarely use for canning so I have begun looking for crafts to use with them. Coming up on Halloween I found an excellent craft on Pinterest for luminaries.

To start with we cleaned and dried some jars.


Katie was very excited about this project and was very ready to help.


Next we painted them with regular craft acrylic paint. We picked orange, white and green as our colors.


We let them dry for a day then got ready for some faces.


To make faces we drew them on with Sharpies then painted with black paint. We made white ghosts, orange pumpkins and green zombies (according to Katie, Frankenstein to everyone else). 


Once the faces were dry I took them outside and sprayed them with Krylon Triple Thick Glaze, two coats.


For Halloween we put LED tea lights in them and put them in the windows of the house. I also took some to our Trunk or Treat and set them up around the car. They came our great and we will be using them for years in the future.


Saturday, November 05, 2011

Car Diddy Bag

I finished another project! This time I decided to make the Car Diddy Bag from the Moda Bake Shop. I used Moda's Strawberry Fields fabric.

First I cut the 5" and 3" squares.


Next I matched them up and sewed them.


Once they were sewn each square was cut into four and mixed up.


I then sewed the triangles together. The squares were then sewn together in 3x3.


The next step was to make the strap using small squares. There was a gap in my sewing time with the construction of Katie's Halloween costume. Somehow most of the squares needed for the strap disappeared. So I used a 10" square and sort of made it up. It worked but I did not get any pictures. After that came the lining. This pattern called for laminated cotton which was a small challenge to find. I bought a yard of it but only needed two 11" squares.


The lining squares are sewn together and then attached to the bag, before you know it, its done!


Here it is in the car, ready for whatever Katie manages to put in it.

Monday, September 05, 2011

Labor Day Finish

I have been posting about this quilt as I went along, I think all together it took about a year and a half to finish, today I finally sewed the last stitch. I am  not sure what craziness overcame me when I decided to hand stitch all of the binding but I am glad I did, it came out looking good. I figured the easiest way to photograph it would be on a bed. 

Here is the finished top:


Some detail:


The binding is white with a pink print.


Here is a look at the back. I used a print from the Moda Sent with Love fabric line (the same fabric collection that is on the front) for the center, two extra rows of squares and some coordinating pink and red at the top and bottom.


Here you can see the quilting pattern I chose, I believe it is "Blown in the Wind", the quilting was done by The Quilt Studio.


The quilt is a little large for my bed but I really like it and I am really glad I finally finished it!

Note: I have now washed and dryed the quilt, it has shrunk a bit and no longer drags on the floor. Of course Katie needs to sleep under it tonight because "its so pretty".

Tuesday, August 09, 2011

Hugs and Kisses from the Park

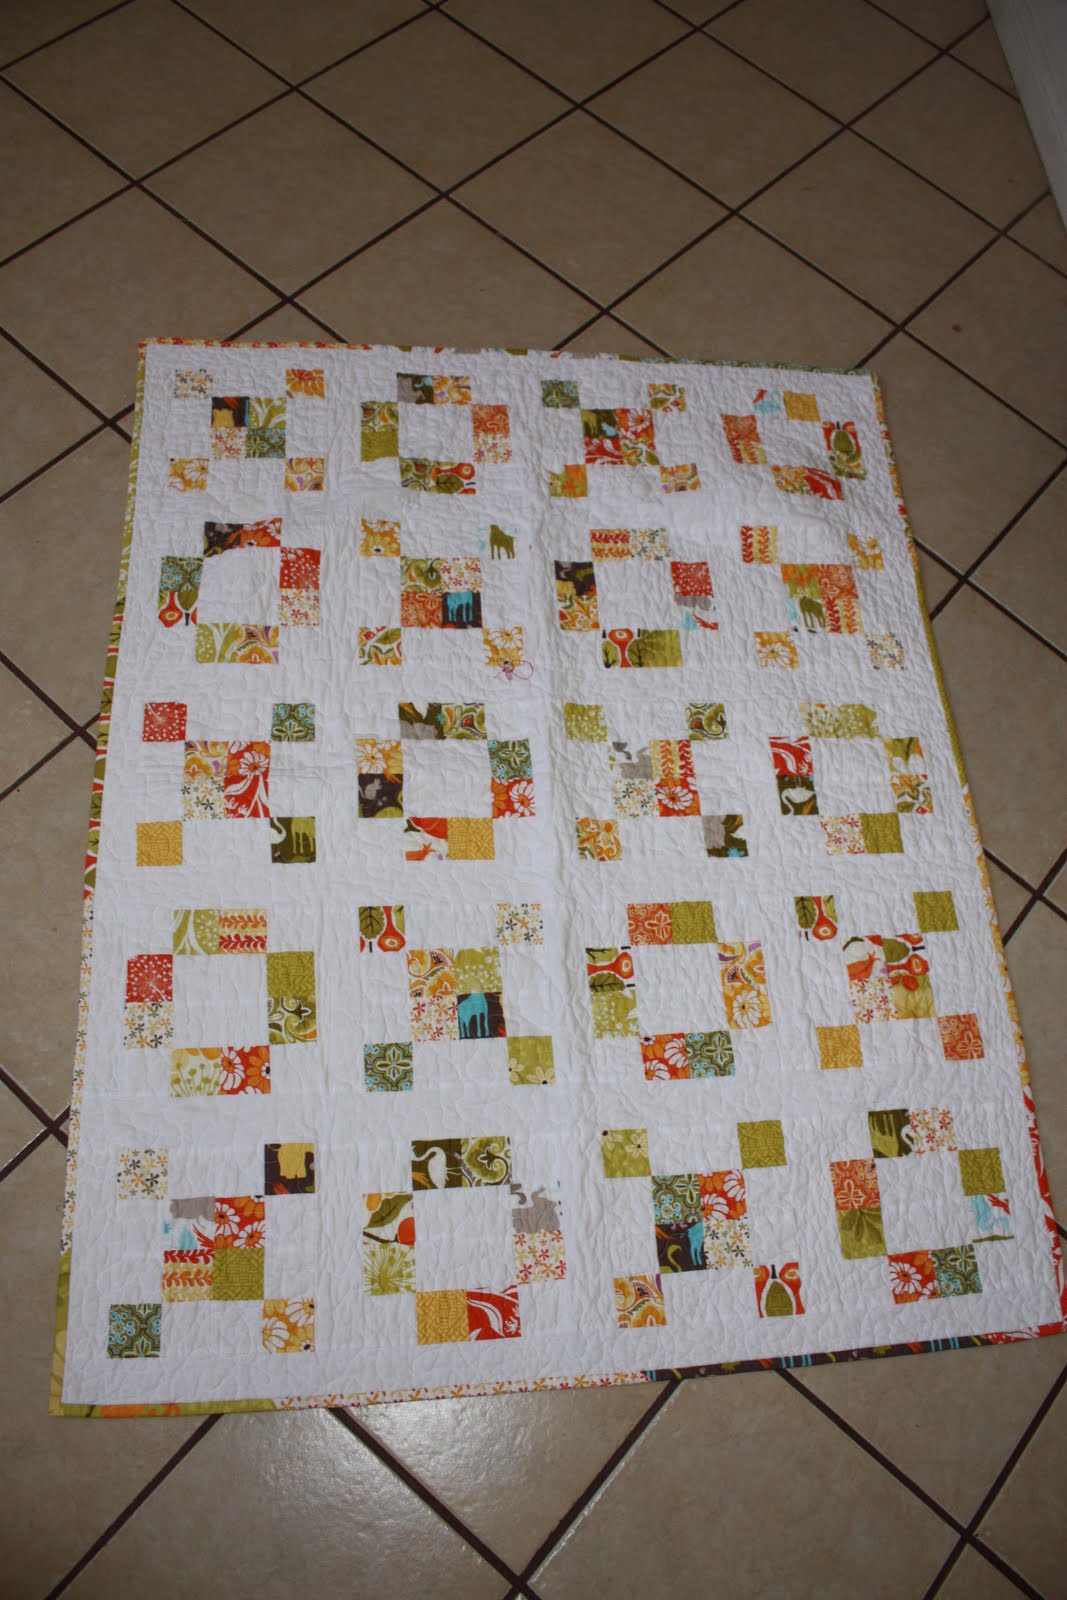
This set of quilts is called Hugs and Kisses from the Park and is another Moda Bake Shop pattern. I actually got this one in a kit that came with most of the fabric. The name comes from the line of fabric which is called Central Park by Kate Spain. The design is x's and o's, hugs and kisses. It stared with jelly rolls of fabric, one in white and one print. The prints are divided into citrus (orange/yellows) and berry (purple/blues). 


Strips of print and white are sewn together then cut into set of squares.


These sets are sewn into sets of four, then those fours become eight. When you put two set of eight together they make a X or an O depending on how you lay them down. This is the berry top:


And citrus:


Once the squares are made you create rows by adding a strip of white between each square. Next a strip of white goes on the top and bottom of the rows.


All of the rows are sewn together and you have a completed quilt top. One row is also completed to go on the back of the quilt. Next you sandwich the quilt and do the quilting. The binding is a scrappy binding which I had never done before. It involves connecting the extra strips of fabric to make the long binding.


The binding is then machine sewed on the front and hand sewn on the back. I have completed the citrus quilt, the berry just needs the binding sewn. I had a deadline with this project since I entered it into our local fair and the quilt had to be turned in last Sunday. I started this quilt in May and here it is completed.


The back:


The front:


Friday, July 24, 2009

Crochet Hook Holder

For my Mothers birthday I decided to made her a case to hold her crochet hooks. I used the book Sew What!: Bags by Lexie Barnes. First I selected some fabric.


I did add another print after I took this picture. Now of course I got so into making it that I forgot to take pictures but it cam together pretty well.

Here is the inside of it completed.


The back.


And all folded up.

Saturday, May 02, 2009

The Dress

I bought the book Little Stitches by Amy Butler right after it came out last year. With a little one on the way I was excited to make her some stuff. The first thing I attempted was a dress. I cut it out and started sewing it but then passed it off to my Mom to finish. One thing led to another and it was eventually finished a few weeks ago.

Here is the main fabric which I really liked.


I used some maroon fabric I had for the top portion of the dress.


It has the little bloomers too.


The top is closed with two buttons which are on the back of the shoulders.


Here Katie is modeling it.


While it came out very cute it may have taken us too long to finish it. The fabric on the top has no give and I could barely get it on or off of her. Needless to sat this is the only time she will be able to wear it, but she doesn't seem to mind.

Monday, March 30, 2009

Baby Legs

Baby legs are sort of like leg warmers for babies. They keep their legs warm but still allow easy diaper access, the only problem is the cost, they can be pricey. We have had a pair my mom bought that Katie wore about once a week. However at our last Mommy & Me class one baby was wearing a neat strip pair. The mother showed them off and explained she made them from a pair of knee high High School Musical socks. Of course, that's so simple!

So to start, some girls knee high socks found on clearance, $.25 a pair.


Cut them before the heel.


Then again after the heel.


Next cut off the toe.


Now you can get rid of the heel and toe, fold the foot piece in half, right side out, it will become the bottom cuff.


Turn the leg piece inside out and sew the cuff to the raw edge with a zigzag stitch.


Its a little hard to see on the black socks but it works! Here is Katie modeling them:


She seems to like them, she can wiggle her toes and see them! My Mom sewed these black and white ones, she also found several spring pairs of socks that will make some awsome baby legs.